
The idea of the sewing unit can be a lot to digest. Organizing hand-sewing supplies organization can be overwhelming. Would you believe me if I said it could be quick and easy?
Teaching students how to thread a needle, tie a knot, and basic sewing stitches isn’t for the faint of heart. It starts with one student saying they don’t understand and then the next is trying to get your attention by jumping up to divert your attention from anyone else There are two on the other side of the room not even slightly paying attention. A tiny needle sword fight at another table, and then a pop-in observation all before you’ve had a chance to gather the attention of everyone in the class. Amiright?!
Not this time around!
With a little prep on your part and some organization, you can make this one of the easiest weeks of the semester.
It might seem a little hard to believe and I would not have believed it at the start of the week, but here we are closing out the week and I am impressed with myself!
Around 120 FACS 1 students left school today CONFIDENTLY threading a needle, tying a knot, AND sewing buttons.
I don’t know what you accomplished this week, but I’m giving myself a gold star. This is one of those career wins I’m holding proudly. I’ve cracked the code from feeling like the sewing unit is a headache and sometimes a disaster.
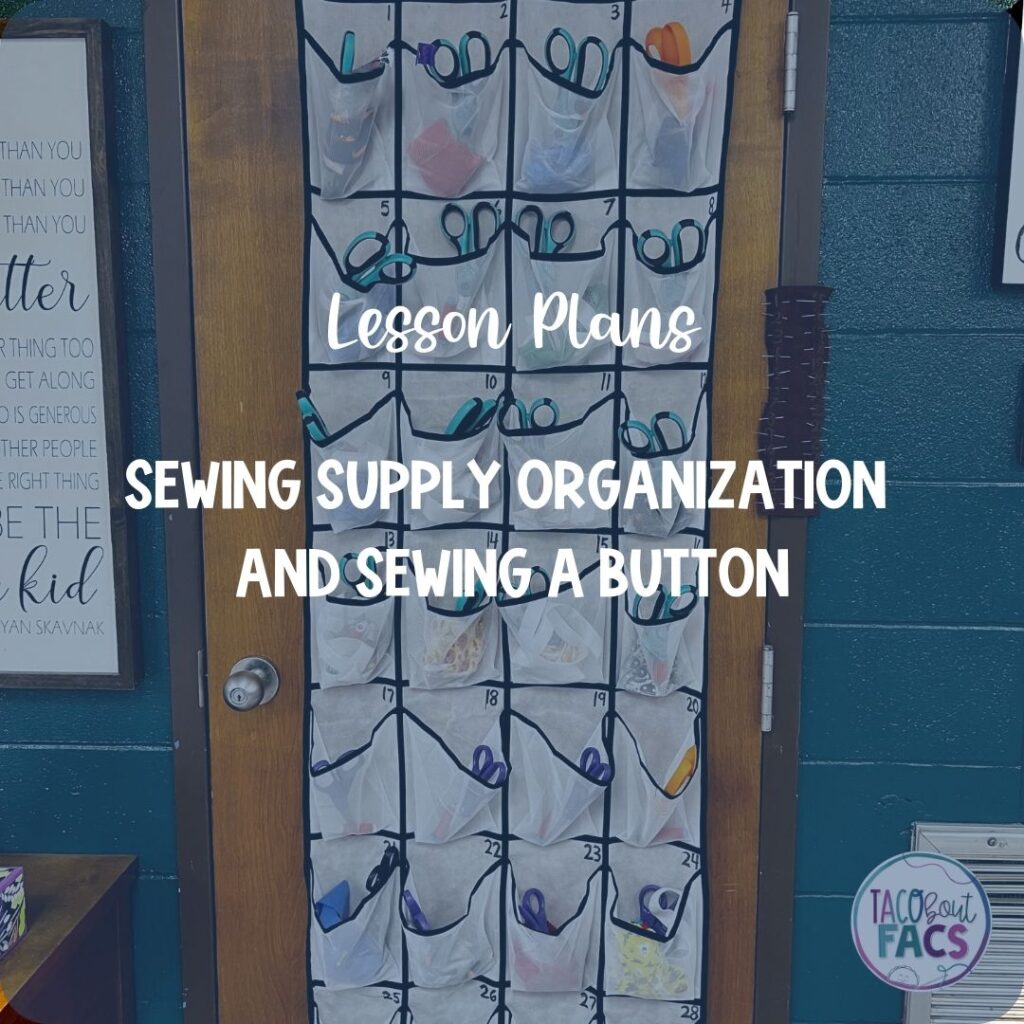
Organizing Sewing Supplies
The key to organizing supplies is QUICKLY and EASILY. In the wise words of a recent Jenna Kutcher podcast, “Let it be easy’.
Effortless Sewing Supply Organization
I knew I needed a better way to organize supplies. I was tired of counting needles being returned to me in a little Tupperware container. I was quickly losing supplies and students who needed to finish later weren’t always able to find what they needed so I would keep supplies on my desk.
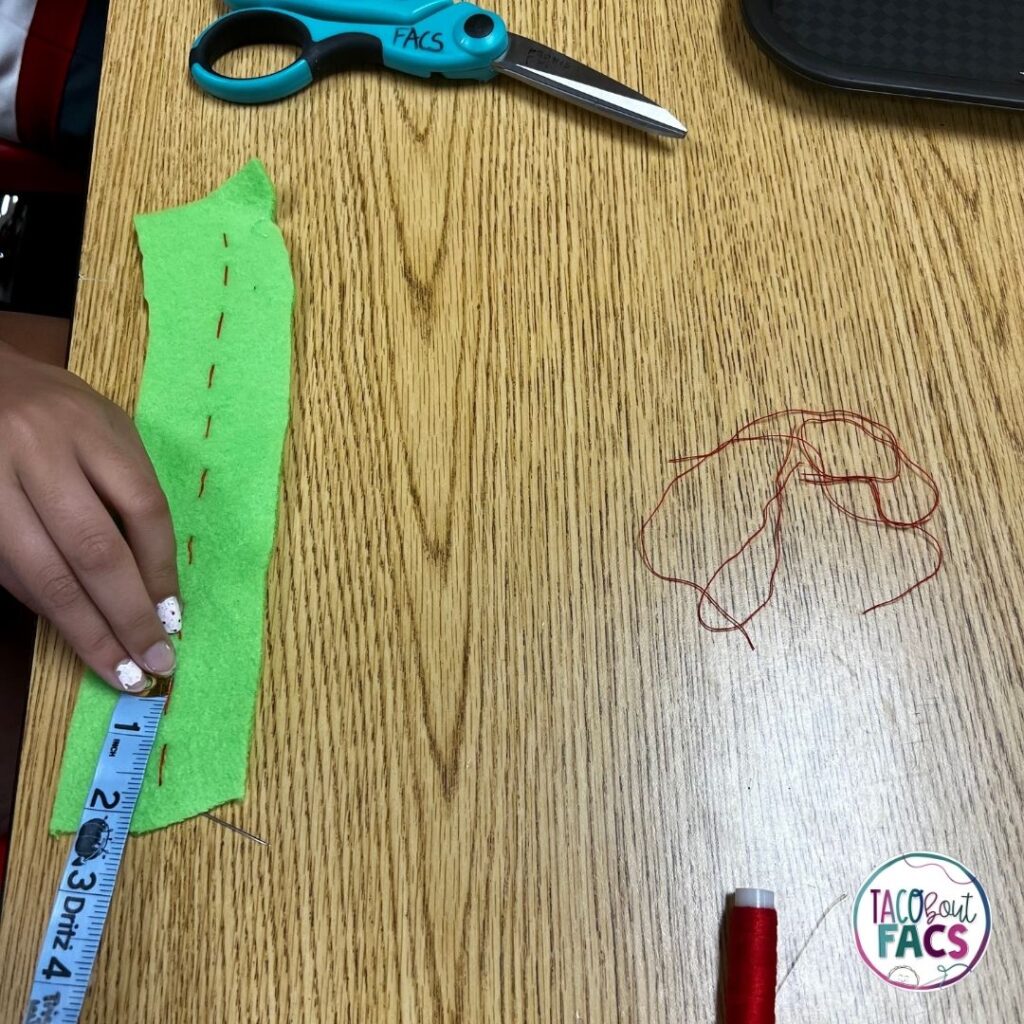
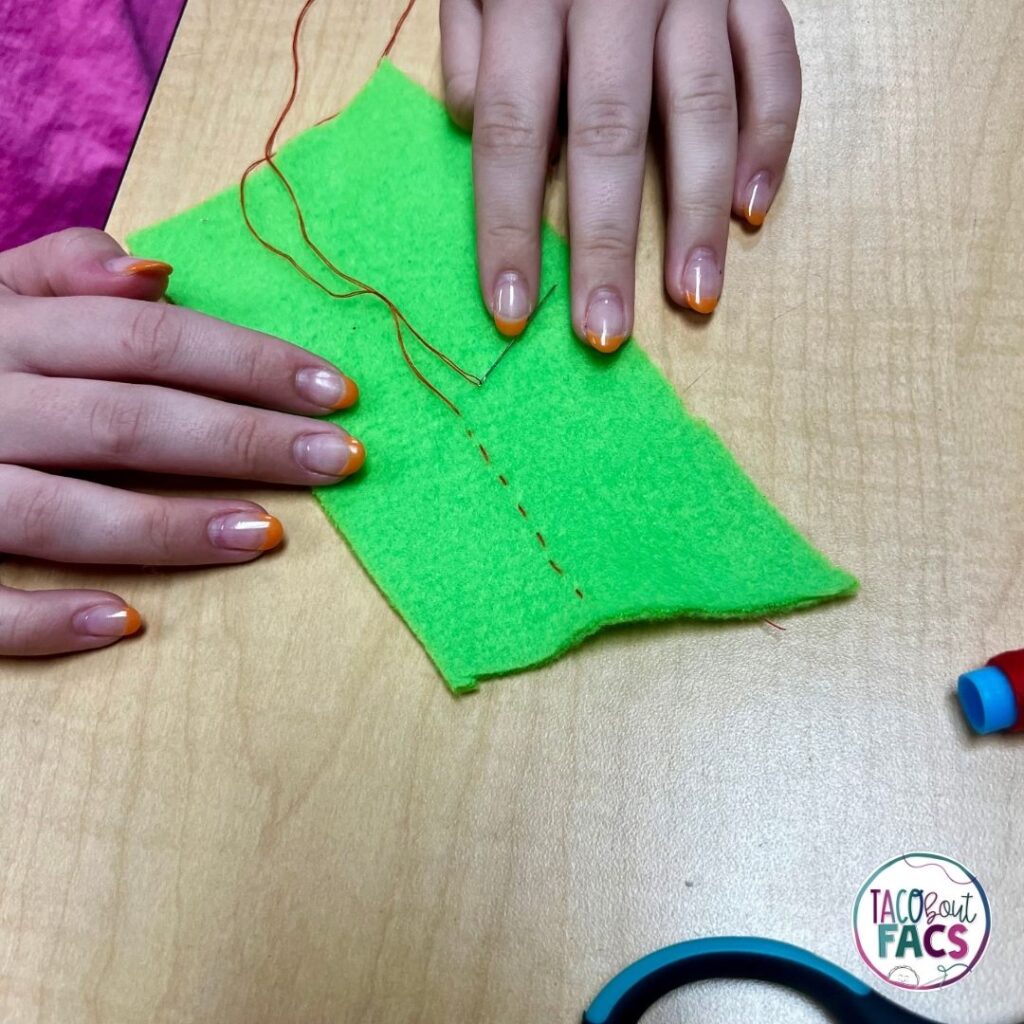
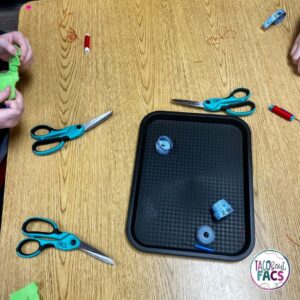
This semester, I used classroom budget money to purchase an These pockets hold the sewing scissors. I can now easily see sewing scissors are being used instead of paper scissors and that each person has returned the supplies. This week to practice, I made sure each pocket had an old spool of red thread. To help organize needles, I used a piece of felt and, again, wrote numbers 1-28. Each person would pin the needle in the appropriate number. The organizational piece of this was phenomenal. I could QUICKLY and EASILY see which pockets were missing scissors or spools of thread and which needles had not yet been returned. Boom. Two days of doing that and I didn’t have to stand guard until I was quickly and easily checking for all supplies. Noticing a trend? The next game changer for organizing was a small On each tray, I had 4 seam rippers, 4 tape measures, 4 small pieces of scrap fabric, 2 needle threaders, and by the third day, 4 buttons- 1 4-hole, 1 2-hole, a shank button, and an extra. I could, once again, walk by each table quickly and easily walk by each table and see if all tray supplies were there for the next hour. No one walked off with supplies, no one was without and if something was off, it could quickly and easily be remedied before the students left and the next hour started. And those organizational strategies were worth their weight in gold. Let’s not stop there though. Maybe you’re wondering how I taught 120 students to thread a needle, tie the knot, AND sew buttons and only needed Ibuprofen once this week? In fact, I only had a headache trying to teach FACS 2 students how to prepare lanyards for the sewing machine and most of it was from their sass and attitude, but I digress. Keep in mind, that these lesson plans were for 49-minute classes, but you can easily alter to make them work for your classroom. Before beginning, I found three 5-minute or less YouTube videos showing how to thread a needle, how to tie a knot, and basic stitching. To start, the class watched a video of how to thread a needle. Students then got supplies and practiced threading a needle multiple times. After 10 minutes or so, I had students freeze and watch the video of how to tie a knot. They were told to try to accomplish this at least 5 times! That’s all we did on the first day. Remember, we are also channeling the phrase, “Let it be easy”. Bigger expectations are not necessary when learning a new fine motor task. On that same note, I might have demonstrated how to thread a needle or tie a knot, but made every single student practice this task. #teachingindependence We then practiced putting supplies away with me closely monitoring how the supplies were returning. This part took about 6-8 minutes for the first day. Day 2 started with the same basic expectations. “Let it be easy”. If you rush the basics of sewing, you will regret it later and possibly leave with a daily headache. To start the class, I showed a 5-minute YouTube video with basic stitching. The video showed backstitching and blanket stitching as well if students wanted to give it a try. Some students could easily thread a needle and tie a knot on day 2, but others needed to learn how to use the needle threader. Afterward, students would get their scissors and spool of thread from the shoe rack organizer and their needle from the felt next to the organizer. Their scrap fabric was still on the tray at their table. Once again, I would demonstrate and then make them try it. It is so easy. to want to do it for them to speed along the process, but hold tight to making them learn. Even when they’re frustrated! This time they added in stitching. I encouraged them to bunch the fabric to see how easily it could happen. They could fold the fabric in half and stitch it that way. After they did it once, they could use a seam ripper to take out the stitching and try it again. With 6-8 minutes left in class, they put away supplies the same way as yesterday with me closely monitoring the placement. Today’s 5-minute YouTube video was about sewing a button 3 ways. A 4-hole button, a 2-hole button, and a shank button. The same as in previous days, scrap fabric is in the tray on the table with the other supplies listed above. This time I did add a 4-hole, 2-hole, and shank button, plus an extra since 4 students sit at each table. Students also picked up scissors, thread, and a needle from the numbered shoe rack organizer. On day 3, I only needed to demonstrate to a very limited number of students how to thread a needle or tie a knot. Having very simple expectations and lots of practice time paid off by day 3. Students were expected to practice sewing all three types of buttons. Once students mastered the first button, they would carefully remove the stitches with the seam ripper and try the next one. A few students might have practiced two out of three buttons because it took them a little longer, but they at least learned the general concept of sewing buttons. On this third day, I didn’t have to closely monitor how they put away supplies because they were used to the routine. I was able to quickly and easily check for all supplies before. the end of class. And now around 120 more human beings in this world know how to sew a button. Looking for a non-traditional hand-sewing project for your FACS classroom? Check out this blog post about creating Ugly Christmas Sweaters. Are you wanting to teach students about possible careers in the apparel and textile industry? Check out this career exploration resource. 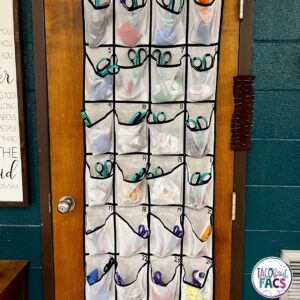
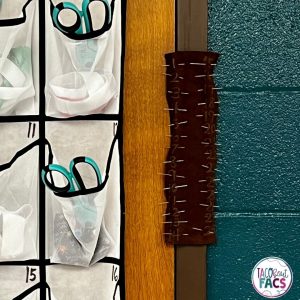
Table Organization
Here are the lesson plans
Day 1: Threading a Needle and Tying a Knot
Day 2: Threading a Needle, Tying a Knot, and Basic Stitching
Day 3: Sewing a Button, or Two, or Three